Connecting Jemi to Zapier
Zapier is a super handy automation tool that allows users to connect multiple tools through automation in a no-code way. You can think of Zapier as an "if-this-then-that" engine. You configure certain triggers and map them to certain actions.
In the context of Jemi, this means that you can connect certain events that happen on Jemi to 1000+ integrations available on Zapier. For now, the main event we support is receiving a new follower on your website. We will be rolling out a lot more event support in the future!
Sample connections that you could make through Zapier:
- Each time you receive a new follower...
- store the data as a new row within a Google Sheet
- send a notification in your Slack channel
- send yourself an email
Just a couple of examples. You can even configure fancy "Zaps" (what Zapier calls their automations) with multiple steps and conditions. Let's walk through how to get started.
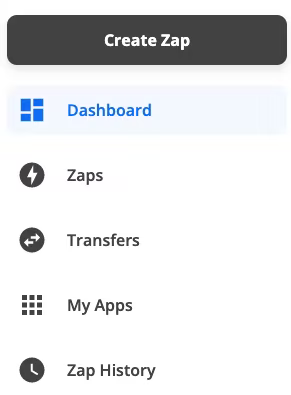
First, make sure you have an account set up on Zapier. It's free to get started! Once you're all logged in, click "Create Zap" from within the dashboard.
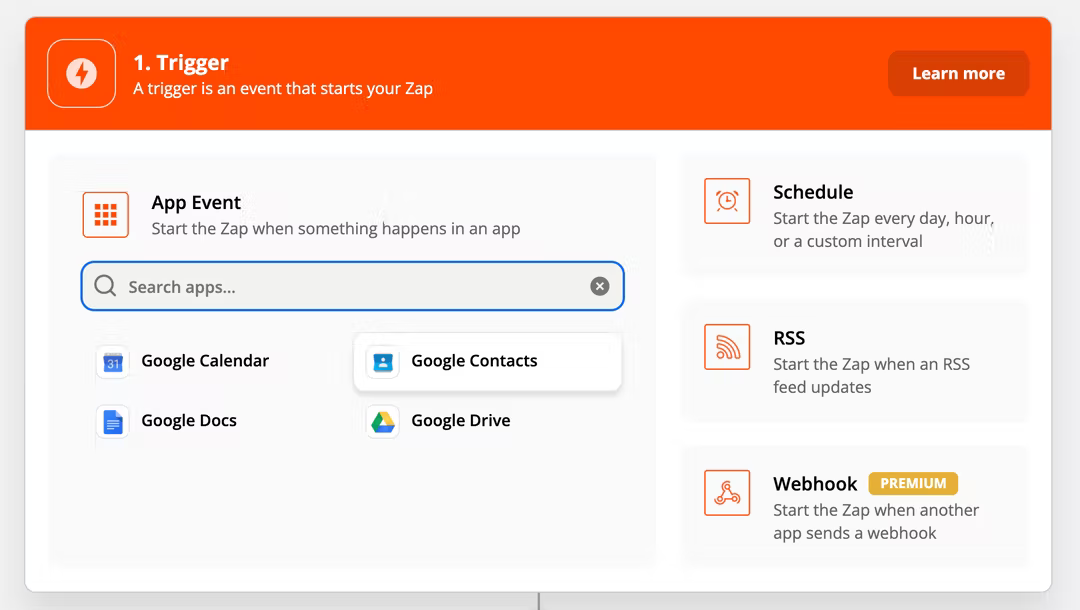
You'll then be shown an editor view for creating a new Zap. The first step is selecting the proper event trigger. From this view, select theWebhookoption.
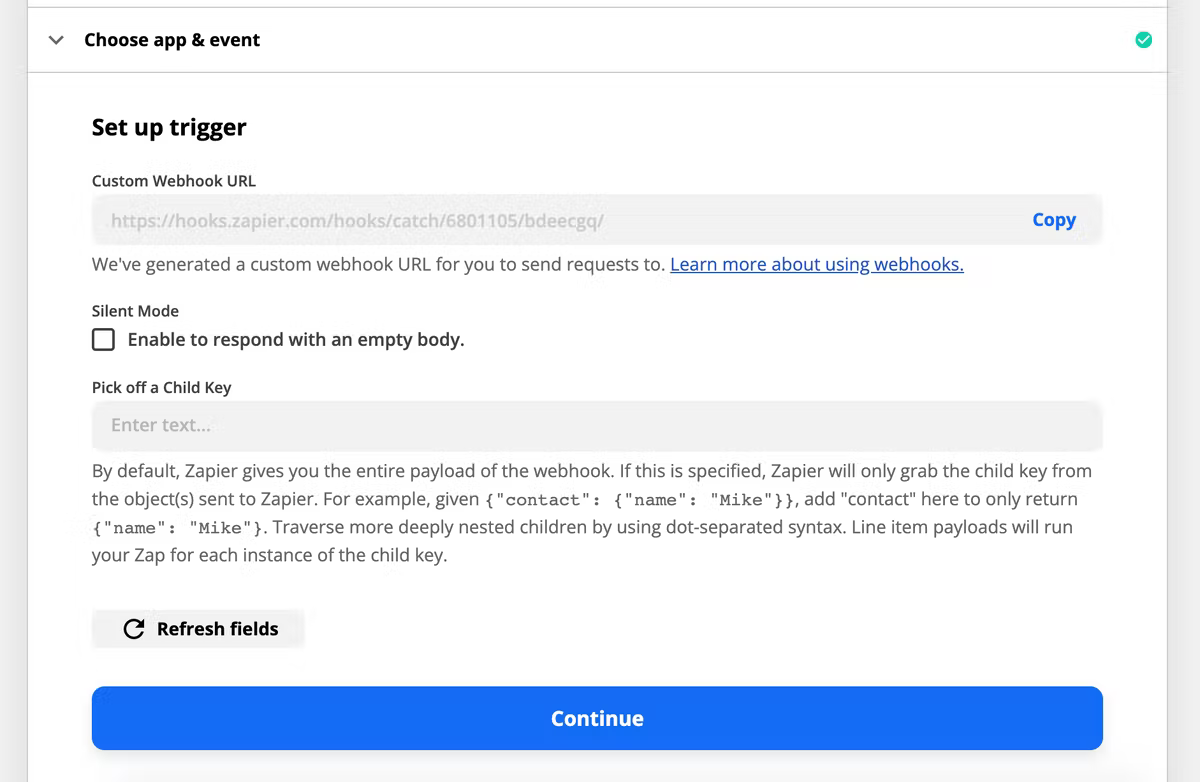
In the next view, select Catch Hook from the dropdown menu for "Trigger Event" and click continue.

Zapier will then automatically generate a custom webhook URL for you. Click the "copy" button to automatically copy the URL to your clipboard.
After copying the URL, don't close your Zapier page just yet! You'll need it later.
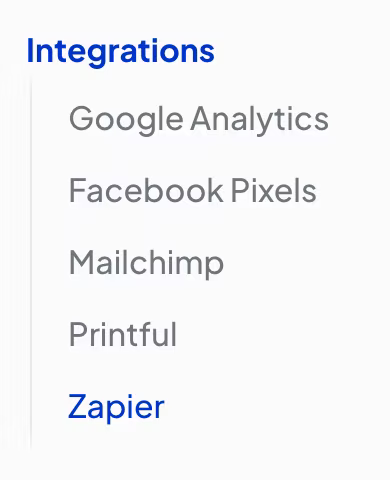
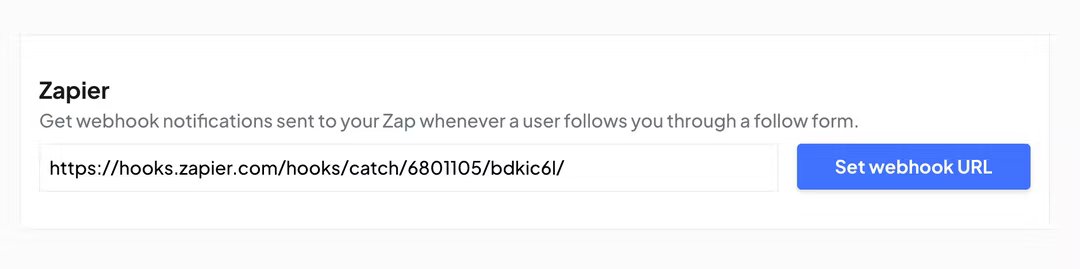
Navigate back to your Jemi dashboard. Within the website dashboard, select the Zapier page from the "Integrations" menu.

Within the page view, paste your copied Zapier URL and click "Set webhook URL".
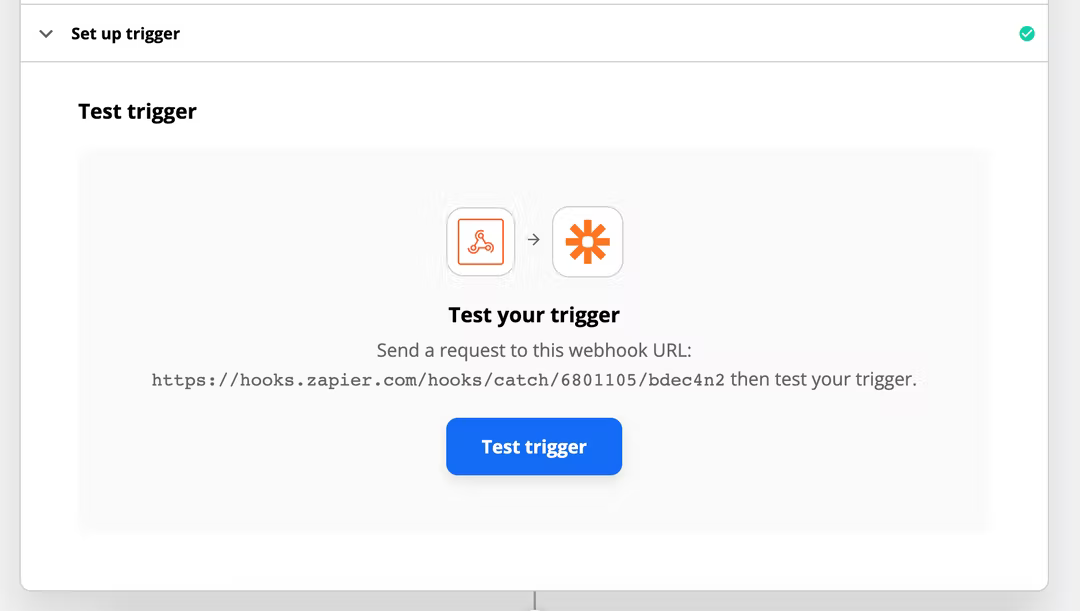
Now we'll need to send Zapier some test data. Set up a follow form on your website (if you don't have one already) and sign up with a test email. This will send some data over to Zapier to confirm everything is set up correctly. After that's done, navigate back to your Zapier window and enter the next step. Click "Test trigger" in the view that's shown:
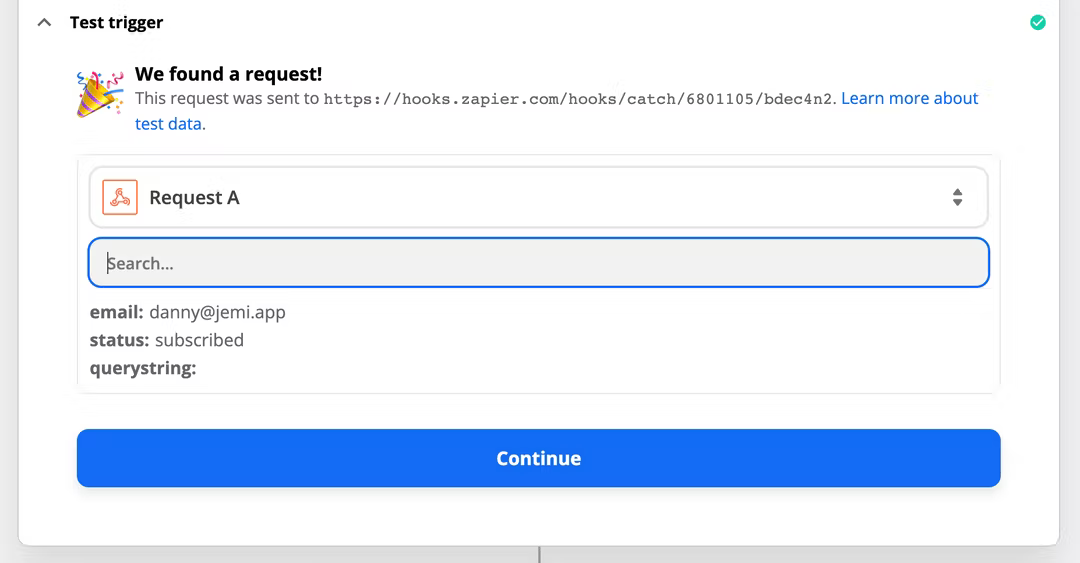
If everything is set up correctly, you should be able to see some test data appear! That means your Jemi website is successfully sending Zapier your follower data 🔥. Click "Continue".

At this point it's up to you to determine what you want to do with this data. Zapier has a super rich library of apps available:
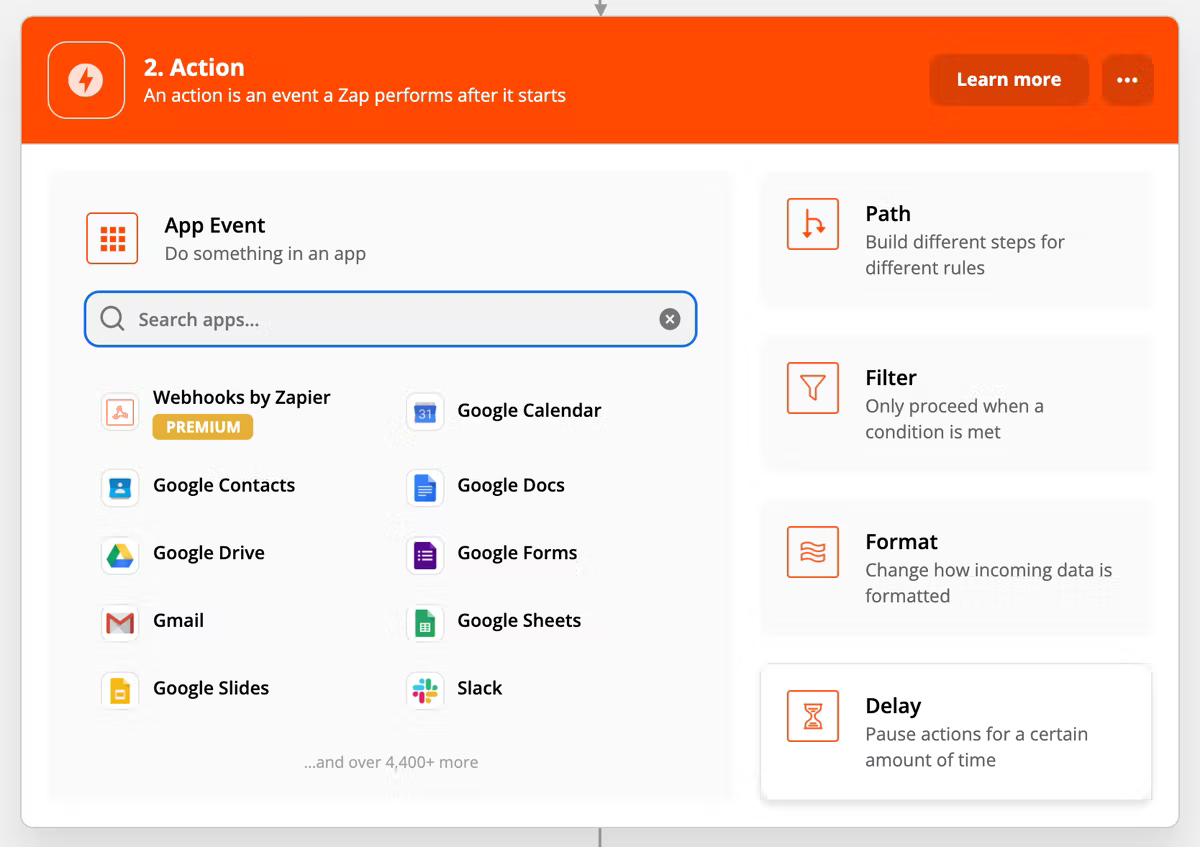
You can choose anything — from saving data in a Google Sheet to adding a new member in Mailchimp. The decision is yours! ✨